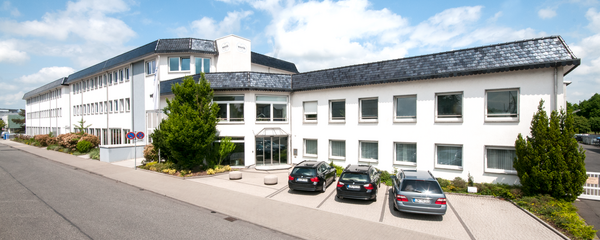
In 2009, Werth Messtechnik and mt microtool, founded in 2003, merged their tool measurement activities into Werth Tool MT. Christopher Morcom has been involved in tool measurement since 1990. Initially, he managed a spin-off from a government research and development institute that he focused on high-precision tool measurement systems. He further developed this company within a large German tooling group. After a management buyout, he founded mt microtool and supplied measuring systems for microtools to leading companies in Europe and Asia, especially in Japan. Activities were later expanded to include larger step and form tools.
It was clear that the potential of Werth's multi-sensor coordinate measuring machines, combined with the know-how of mt microtool, would provide solutions that were not available anywhere else in the market. Since these were not limited to microtools, the company name was changed to Tool MT.
Tooling know-how paired with cutting-edge technology
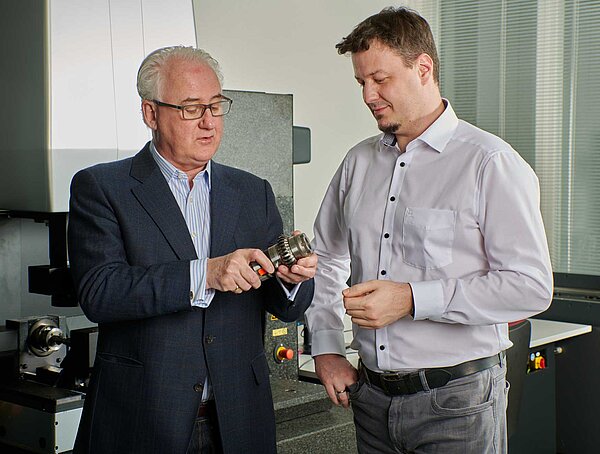
In the meantime, many multisensor tool measuring systems have been installed worldwide. These are used in particular by companies that want to measure very small details and complex geometries or require an accuracy that is not otherwise available. One reason for the success is the special software that allows tool grinders to make fast, accurate measurements without complex program creation or in-depth knowledge of the measuring system. The measuring programs are automatically generated from tool parameters or 3D CAD data.
The technical team is headed by Ingo Heller, who has many years of application technology experience in tool measurement. He took over the technical management of Tool MT in 2018.
Multisensor technology – unique in tool measurement
The systems are unique in that they offer different sensors, which are optimally combined according to their properties to enable true 3D tool measurement. At the heart is Werth contour image processing, which enables high-resolution measurement of external contours. The patented Werth Laser Probe and chromatic sensors enable fast, non-contact measurements even on polished or diamond tools. Scanning probes are used for measuring flute and rake geometries, and the patented Werth Fiber Probe® is even used for micro-gearing tools with a module smaller than 0.1 mm.


