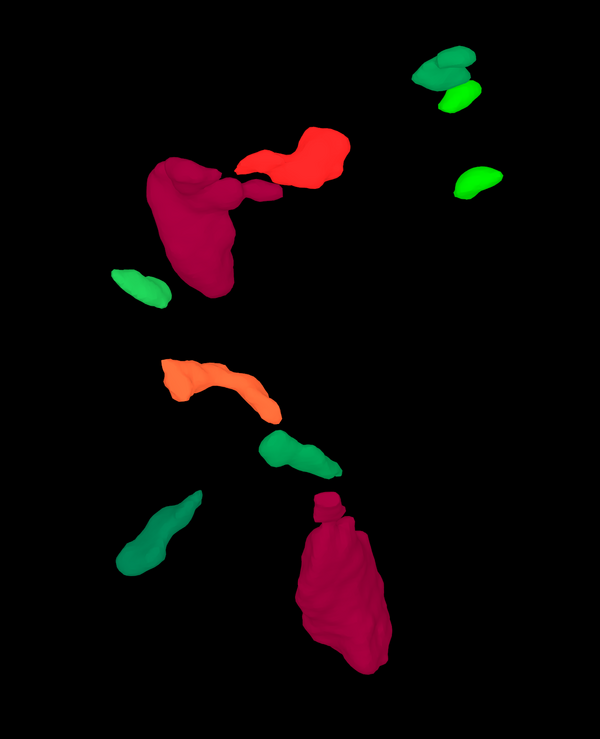
X-ray tomography coordinate measuring machines are used to X-ray the workpieces and reconstruct a virtual workpiece volume. In principle, this also contains information about the inside of the workpiece. Find out here what evaluation options the WinWerth® measurement software offers.
-
Applications
- 3D free-form workpieces
- Extruded workpieces
- Moulds
- Semiconductor workpieces
- Lithographic structures
- Metal-plastic composite workpieces
- Prismatic workpieces
- Stamped and bent parts
- Packaging
- Shaft-hub connections
- Shafts and axles
- Workpieces with micro-features
- Workpieces with optical functional surfaces
- Tools with geometrically defined cutting edges
- Tools with geometrically undefined cutting edges
- Gears
- Cylindrical workpieces
- Industries
- Products
- Service
- About Werth
- Careers
- Foundation
- Publications
- Downloads


