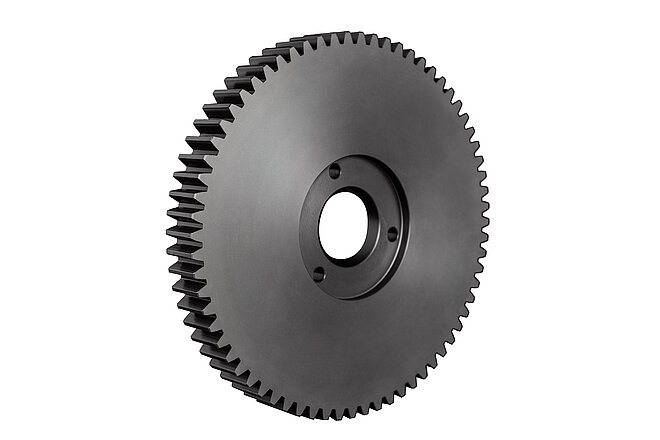
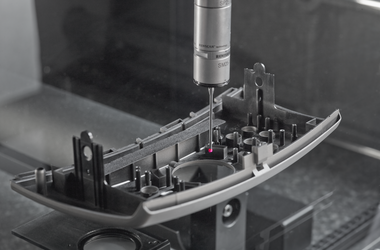
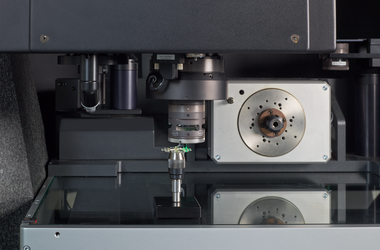
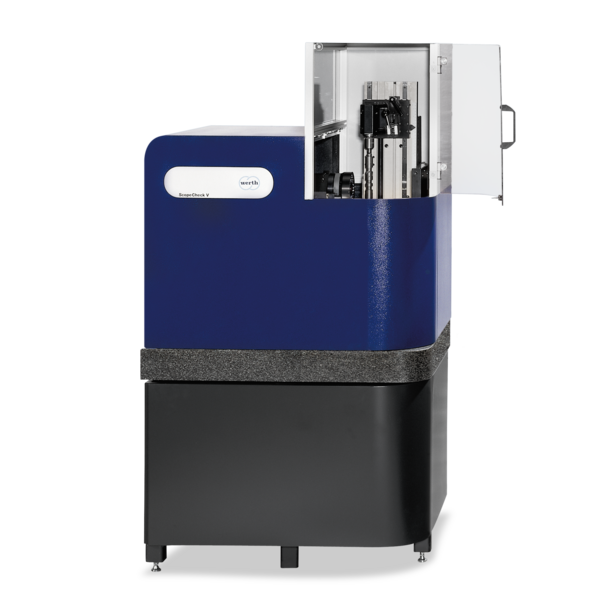
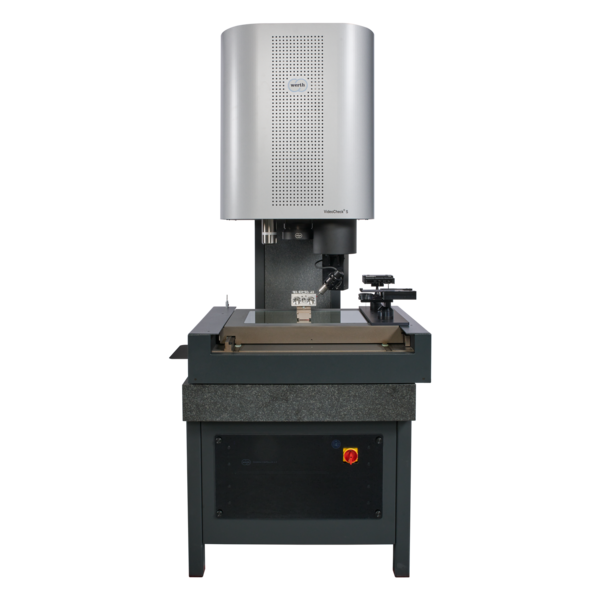
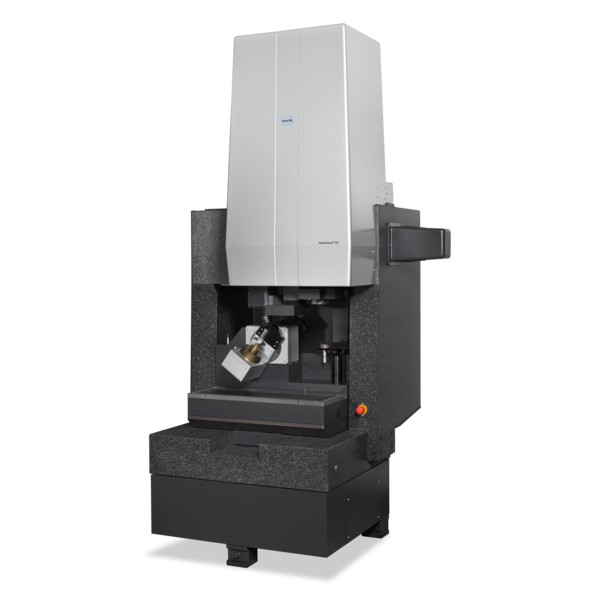
Gears have a standardised geometry. Their measurement is according to DIN 3962. Very small modules (approx. 0.03) can occur, especially with plastic gears. Profile form deviation, flank line deviation and the pitch are measured. For micro gears, the tolerances are in the range of a few µm. The measuring time plays a subordinate role. A difficulty for the mostly contact measurement is the rigid holding of the workpieces.
-
Applications
- 3D free-form workpieces
- Extruded workpieces
- Moulds
- Semiconductor workpieces
- Lithographic structures
- Metal-plastic composite workpieces
- Prismatic workpieces
- Stamped and bent parts
- Packaging
- Shaft-hub connections
- Shafts and axles
- Workpieces with micro-features
- Workpieces with optical functional surfaces
- Tools with geometrically defined cutting edges
- Tools with geometrically undefined cutting edges
- Gears
- Cylindrical workpieces
- Industries
- Products
- Service
- About Werth
- Careers
- Foundation
- Publications
- Downloads


